Critical Scaffold Safety Tips to Avoid Disaster
As a construction professional, your responsibilities involve managing complex projects,

So you want to build yourself a frame scaffolding system? Well, here is all guide you need to construct. In a basic construction, frame scaffolding is totally doable as a DIY project, as long as you follow the necessary safety precautions. In this step-by-step guide, we’ll walk you through the entire process from start to finish , safety tips and precautions for frame scaffold in no time.

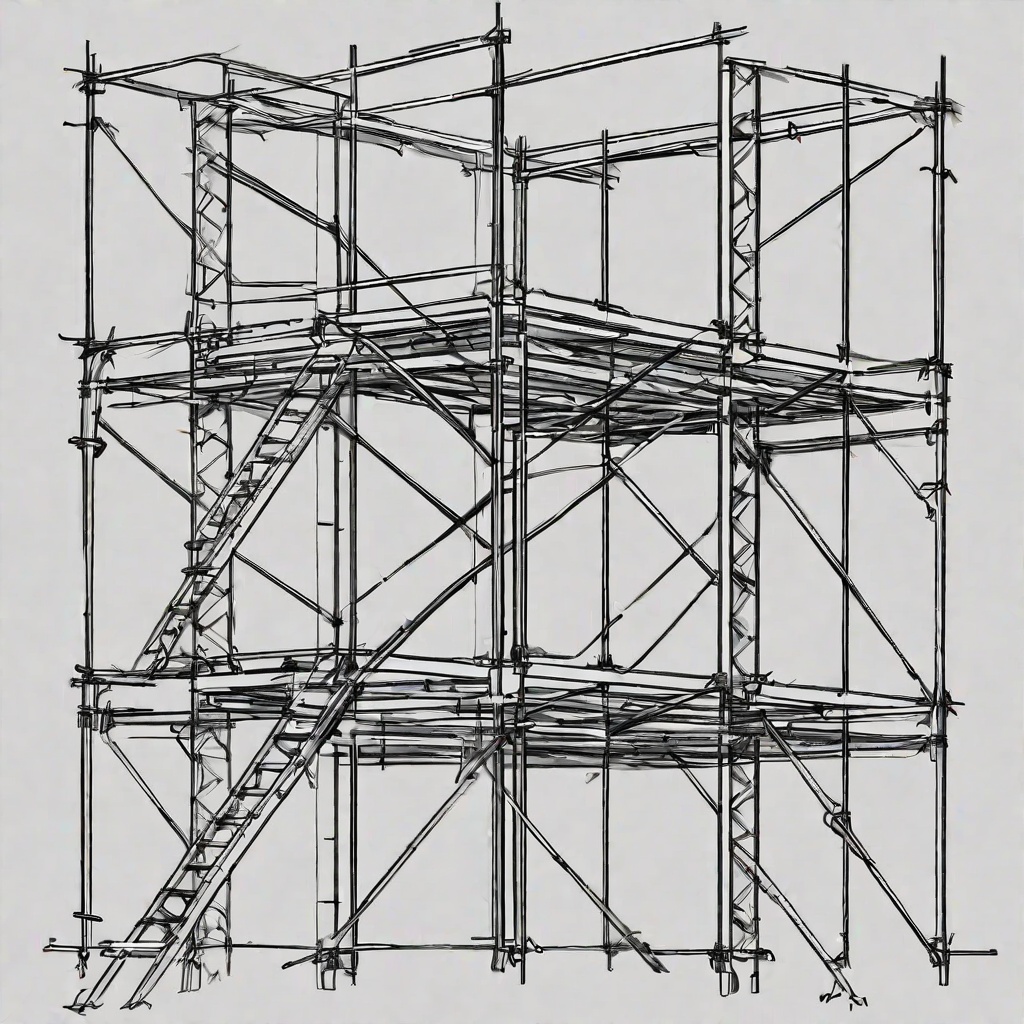
The first thing you need to know is that frame scaffolding provides a sturdy and adjustable platform for working at heights. The key components are the
Together to form a secure structure. You’ll want a solid base, level frames, and platforms evenly spaced as you go up.
You’ll have your own frame scaffolding set up before you know it.
To build a sturdy frame scaffolding, you’ll need to gather the right materials.
Steel pipes and clamps :
These are ideal for the frame, as they’re durable and weather-resistant. For the horizontal beams, choose pipes that are 2 to 4 inches in diameter. The vertical legs should be at least 3 to 6 inches in diameter to properly support the structure.
You’ll also want adjustable clamps, brackets, and bases to securely join the pipes together.
Swivel clamps that can rotate and pivot are very useful for angled joints.
For maximum stability, look for bases that can be bolted to the ground.
In addition to the pipes and connectors, Be mindful of using scaffolding safety kit for safe scaffolding. You may also want to invest in padding, netting, or trapdoors to prevent falls.
Once you’ve got all the necessary supplies, you’re ready to start construction.
The key to building a sturdy frame scaffolding is in the planning. Take the time to design your structure properly and you’ll have a safe and functional scaffolding for any project.
First, determine how high and large of an area you need to access. The height and size will impact how many frames and planks you require. For most single or two-story homes, 10 to 16 feet high and 5 to 10 feet wide is typical.
Next, sketch a rough diagram of your design. Figure out the correct frame placement and how the planks will lay across, ensuring the structure can support the weight and loads. Get the proper measurements of the area you need to reach. For complex builds, consider consulting an expert.

With the proper safety precautions and materials, you’ll have a frame scaffolding up in no time. But remember, the higher and more complex the structure, the more experience required – so if you’re not highly skilled, you may want to consider hiring a professional instead. Your safety is the top priority here.
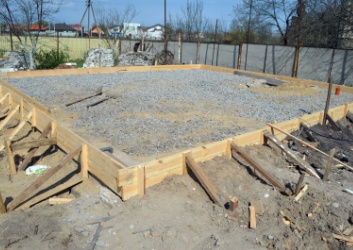
To construct the base of your frame scaffolding, follow these steps:
You will need:
Following these steps carefully will ensure you construct a stable, sturdy base for your frame scaffolding. Be extremely cautious when erecting and climbing scaffolding, as improper construction or safety practices can lead to dangerous injury or even death.
Once you have the vertical supports in place, it’s time to add the horizontal members that will form the platforms of your frame scaffolding.
The cross braces provide stability for the vertical supports. Attach the cross braces so they connect one vertical support to the one diagonally opposite from it. Secure the cross braces in place with bolts and nuts.
The ledgers are the horizontal beams that run parallel to the wall of the structure. Space the ledgers about 6 to 8 feet apart vertically, attaching them to the vertical supports using bolts. The ledgers will support the actual work platforms.
Transoms are horizontal beams that run perpendicular to the wall. Attach one end of each transom to the ledgers, and the other end to the next vertical support. Space the transoms about 6 to 8 feet apart to provide adequate support for the work platforms. Secure the transoms to the ledgers and vertical supports with bolts.
The work platforms provide the actual area for workers and materials to be supported. Use prefabricated scaffold boards, or cut boards to fit in the spaces between the ledgers and transoms. Ensure the boards are securely in place, with no gaps or unstable areas. The platforms should be level for safety.
Once the horizontal members have been added and the work platforms installed, double check that everything is securely in place. Shake the entire scaffolding gently to ensure there is no looseness or instability before allowing workers and materials onto the platforms. Make any necessary adjustments to tighten bolts or add additional bracing. Your frame scaffolding is now ready for use.
Before using your frame scaffolding, it’s critical to perform several safety inspections to ensure it’s secure and ready for work.
Continually re-check the scaffold as you work for any issues that could compromise stability or fall protection. It’s always better to be safe than sorry!
Once the scaffolding structure is complete, there are a few finishing touches needed before it’s ready to use. Safety is key, so be sure to:
Have a certified professional inspect the entire scaffolding to ensure it’s secure and stable before anyone uses it. They should check that all parts are properly installed, braced, leveled, and anchored.
Install top and mid-rails around the entire scaffolding for fall protection. Toe boards along the base prevent dropped tools and materials from falling.
Place “scaffolding completed” tags or placards on each completed section so workers know those areas are safe to access. Remove tags as sections are dismantled.
Only allow properly trained workers on the scaffolding. Ensure even weight distribution and never overload it. Use personal fall arrest systems if required. Disallow access in high winds or storms.
When the project is done, dismantle the scaffolding in reverse order of assembly, floor by floor and section by section. Remove all parts from the worksite to ensure none are left behind as tripping or falling hazards.
Using the scaffolding safely requires vigilance and care. But when assembled and inspected properly according to official guidelines, frame scaffolding provides a sturdy and reliable platform for workers to complete projects efficiently and productively at a range of heights and access points. Regular monitoring, maintenance, and dismantling help ensure safety for all.
So there you have it, your very own frame scaffolding ready to provide safe and stable access for any construction or maintenance project. By following these steps carefully and taking proper safety precautions, you’ve built a scaffolding structure that will serve you well for years to come. Though the process requires an investment of time and resources, the end result is a customizable and cost-effective solution that beats renting scaffolding hands down. Now get out there and put your new scaffolding to work – but be sure to inspect it regularly and make any needed repairs right away. Your safety depends on it! With the right tools and patience, tackling a project like this yourself can be very rewarding.

As a construction professional, your responsibilities involve managing complex projects,

As a construction professional, you are always looking for innovative

After spending many years helping people in all areas of

DSS (Direct Scaffold Supply) has launched a new website designed